
No-Bake Peanut Butter Oat Bars
Chewy, chocolate-studded peanut butter oat bars that require zero baking. A budget-friendly dessert at just $0.50 per bar that's perfect for meal prep. This no bake peanut butter bars option is designed for fast weeknight cooking and dependable results.
Fifty Cents of Pure Happiness
There are expensive desserts that disappoint, and there are fifty-cent desserts that make you wonder why you ever bothered with the expensive ones. These no-bake peanut butter oat bars belong firmly in the second category. They are chewy, rich, studded with pockets of melted chocolate, and held together by the kind of peanut butter and honey combination that tastes like it was designed to make people happy. And they require absolutely zero baking. No oven, no precise temperatures, no anxiety about whether the middle is done. Just melt, mix, press, and chill.
The cost breakdown on these bars is almost comically low. A jar of peanut butter, a container of oats, a bottle of honey, and a bag of chocolate chips are all pantry staples that you probably already own. Even if you had to buy every single ingredient from scratch, the entire batch of twelve bars would cost around six dollars. That is fifty cents per bar, which makes these cheaper than literally any packaged snack bar at the grocery store and significantly more delicious than all of them.
The Science of No-Bake Binding
The reason these bars hold together without any baking comes down to the peanut butter and honey working as a binding system. When warmed together, the peanut butter becomes fluid and coats every oat flake, while the honey provides a sticky adhesiveness that locks everything in place once cooled. As the mixture chills in the refrigerator, the fats in the peanut butter solidify and the honey firms up, creating a bar that is sturdy enough to pick up and eat by hand but still has a satisfying chewy give when you bite into it.
This is why pressing the mixture firmly into the pan is so important. Any air pockets or loosely packed areas will crumble when you cut the bars. Use real pressure. The back of a measuring cup is the ideal tool because it gives you a flat, even surface and enough leverage to compress the mixture tightly. You want the surface to look smooth and slightly glossy when you are done pressing.
Choosing Your Peanut Butter
The type of peanut butter you use will noticeably affect the final result. Standard creamy peanut butter like Jif or Skippy produces the smoothest, most uniform bars. These commercial brands contain added stabilizers that help the bars hold their shape even better than natural peanut butter would. If you prefer natural peanut butter, it works fine but make sure to stir it very well before measuring, and know that the bars may be slightly softer and more crumbly.
Crunchy peanut butter is a legitimate choice if you like textural contrast. The peanut pieces add little bursts of crunch throughout the chewy oat base, which some people prefer. There is no right or wrong answer here, just personal preference.
The Chocolate Chip Strategy
Adding the chocolate chips to the warm peanut butter mixture rather than folding them in after the mixture cools is a deliberate choice. The residual heat softens the chocolate chips just enough that they partially melt and create streaks and pockets of chocolate throughout the bars. You are not looking for fully melted chocolate, which would turn the entire mixture brown. You want chips that are softened and slightly flattened but still recognizable as individual pieces.
If you want a more dramatic chocolate experience, press the oat mixture into the pan and then sprinkle an additional quarter cup of chocolate chips on top. Press them gently into the surface so they stick. When chilled, these top chips create a chocolate-studded surface that looks impressive and adds extra chocolate in every bite.
For another recipe that celebrates the magic of oats as a base ingredient, check out our 3-Ingredient Banana Oat Pancakes, which use the same affordable pantry staple to create a completely different but equally satisfying result. And if you have a sweet tooth that demands more attention, our Chocolate Mug Cake delivers warm, fudgy indulgence in under five minutes with ingredients you already have.
Beyond the Basic Bar
Once you have the base recipe mastered, the variations are nearly infinite. Swap the chocolate chips for dried cranberries and add a tablespoon of shredded coconut for a trail mix version. Stir in a scoop of protein powder with the oats for a post-workout snack. Drizzle the top with melted dark chocolate for a more polished presentation. Add a teaspoon of espresso powder to the peanut butter mixture for a mocha twist that pairs beautifully with afternoon coffee.
For a truly indulgent version, spread a thin layer of Nutella on top of the pressed oat mixture before refrigerating. The Nutella firms up into a smooth chocolate-hazelnut cap that makes these bars taste like something from a bakery rather than something that cost fifty cents and took ten minutes.
The Perfect Make-Ahead Dessert
One of the greatest strengths of these bars is their make-ahead nature. Unlike cookies that go stale or cakes that dry out, these bars actually improve over the first day or two in the refrigerator as the flavors meld and the texture firms up. Make a batch on Sunday and you have desserts, snacks, and lunchbox treats for the entire week. They travel well, they do not need to be kept cold for short periods, and they satisfy a sweet craving without the guilt or expense of store-bought alternatives.
For families with kids, these bars are a game changer. Children love them because they taste like a candy bar. Parents love them because the ingredient list is short, recognizable, and free of the preservatives and artificial ingredients that fill most packaged snack bars. Getting kids involved in making them is easy too, since there is no hot oven to worry about. Let them press the mixture into the pan and sprinkle the chocolate chips. It is the kind of simple kitchen project that builds confidence and creates memories.
No-Bake Peanut Butter Oat Bars
Chewy, chocolate-studded peanut butter oat bars that require zero baking. A budget-friendly dessert at just $0.50 per bar that's perfect for meal prep. This no bake peanut butter bars option is designed for fast weeknight cooking and dependable results.
Editorial score based on test-kitchen reliability, flavor balance, and budget value.
Prep
10 min
Cook
0 min
Total
10 min
Ingredients
Peanut Butter Oat Bars
- 1 cup peanut butter (creamy or crunchy)
- 1/3 cup honey
- 2 cups old-fashioned oats
- 1/2 cup chocolate chips
- 1 tsp vanilla extract
- Pinch of salt
Instructions
- 1
In a medium saucepan over low heat, combine the peanut butter and honey. Stir continuously until the mixture is completely melted and smooth, about 2-3 minutes. Remove from heat and stir in the vanilla extract and salt.
- 2
Add the oats and chocolate chips to the warm peanut butter mixture. Stir with a spatula until everything is evenly coated and the chocolate chips are distributed throughout. The residual heat will slightly soften the chocolate chips but they should not fully melt.
- 3
Line an 8x8 inch baking pan with parchment paper, leaving some overhang on the sides for easy removal. Transfer the mixture to the pan and press it down firmly and evenly using the back of the spatula or the bottom of a measuring cup. Refrigerate for at least 1 hour until completely set. Lift the bars out using the parchment overhang, then cut into 12 even bars.
Nutrition Facts
Per serving
245 kcal
Calories
8g
Protein
28g
Carbs
13g
Fat
Frequently Asked Questions
Can I substitute the honey with something else?▾
Maple syrup is the best one-to-one substitute and gives the bars a slightly different but equally delicious flavor. Agave nectar also works well. For a refined-sugar option, golden syrup or corn syrup will provide the same sticky binding quality, though the flavor will be less complex. Whatever you choose, make sure it is a liquid sweetener rather than a granulated one, because the liquid is what binds the oats together and holds the bars in shape. Brown rice syrup is another excellent option that creates an especially chewy texture.
How should I store these bars and how long do they last?▾
Store the bars in an airtight container in the refrigerator for up to two weeks. They can also be frozen for up to three months. Wrap each bar individually in plastic wrap or parchment paper before placing them in a freezer bag. Frozen bars thaw at room temperature in about 15-20 minutes, or you can eat them straight from the freezer for a firmer, almost candy-bar-like texture. In warm weather, keep them refrigerated since the peanut butter mixture will soften at room temperature.
How can I make a nut-free version of these bars?▾
Sunflower seed butter is the best nut-free substitute for peanut butter in this recipe. It has a similar consistency and fat content, which means the bars will hold together just as well. Soy nut butter is another option if sunflower seeds are not available. Use the same measurements as the original recipe. Note that sunflower seed butter can sometimes turn slightly green when combined with baking soda or certain acidic ingredients, but this recipe does not contain those ingredients so the color should remain normal. The flavor will be slightly different but still delicious.
Can I meal prep No-Bake Peanut Butter Oat Bars for the week?▾
Yes. Cook the full recipe, cool portions quickly, and store in airtight containers. Most servings hold quality for 3 to 4 days in the refrigerator. Reheat with a splash of water or broth if needed to restore texture.
HomeMealHacks Team
We're a team of home cooks passionate about making delicious food accessible to every budget. Every recipe is tested, costed, and designed to save you money without sacrificing flavor.
You Might Also Like
 desserts
Cottage Cheese Cookie Dough Bites
Cottage Cheese Cookie Dough Bites are a no-bake high-protein dessert with oats, peanut butter, chocolate chips, and 15-minute prep for $0.92 per serving.
 desserts
Three-Ingredient Banana Oat Cookies
Three-Ingredient Banana Oat Cookies turn ripe bananas into a 20-minute budget dessert with chewy oats, chocolate chips, and $0.32 servings from pantry staples.
 desserts
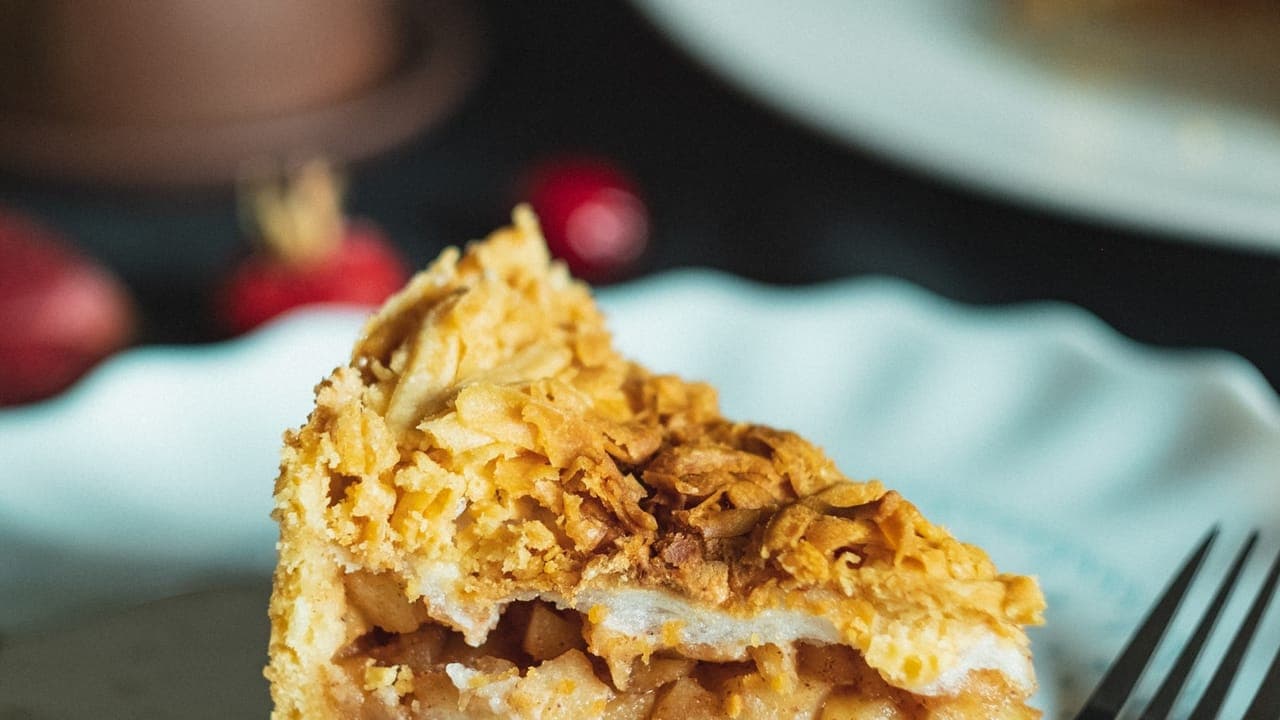
Easy Apple Crisp
Warm, cinnamon-spiced apple crisp with a buttery oat topping. A crowd-pleasing budget dessert ready in 45 minutes for just $0.80 per serving using simple pantry ingredients. This apple crisp recipe guide includes practical budget tips, clear timing, ingredient swaps, and make-ahead advice for reliable results on busy weeknights.
Featured In

Cheap Picnic Food Ideas Under $3 Per Serving for Summer Days
Cheap picnic food ideas under $3 per serving with packable lunches, cooler safety, no-cook recipes, and easy summer menus for parks, beaches, or concerts.
May 26, 2026
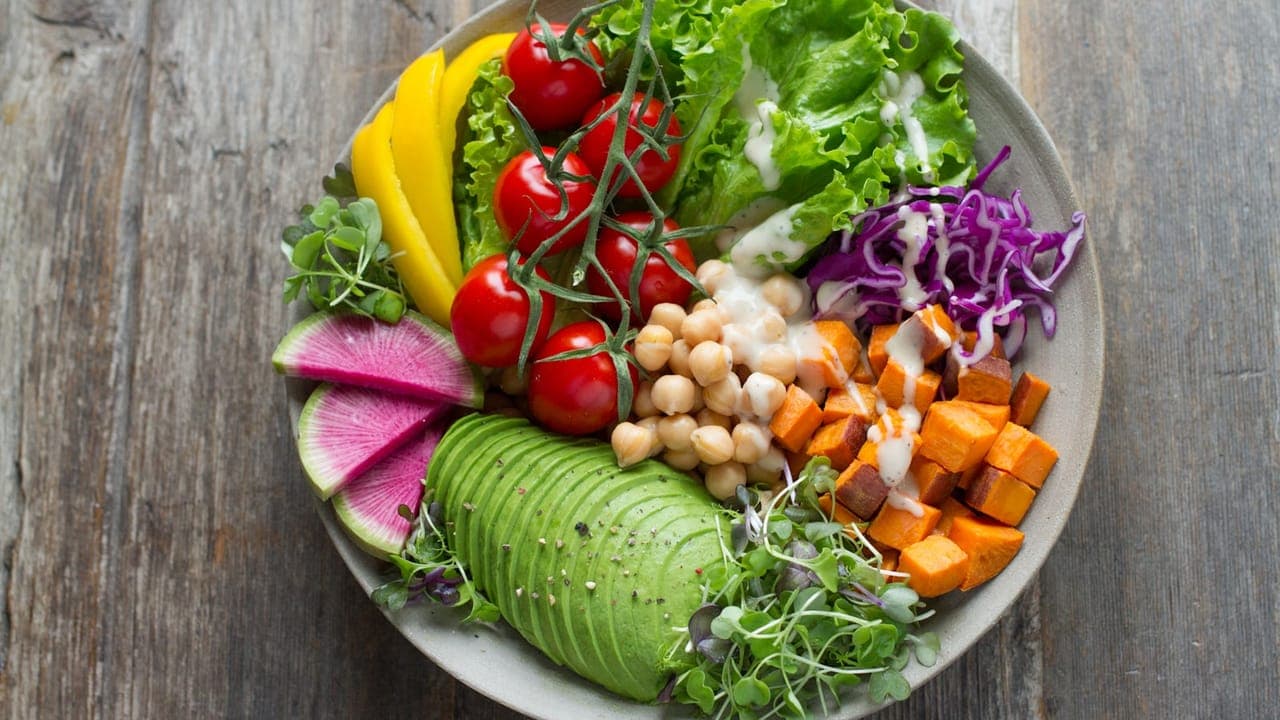
7 Cheap Vegetarian Meals Under $2 Per Serving
Discover 7 delicious vegetarian meals that cost less than $2 per serving. These meatless recipes are budget-friendly, easy to make, and packed with flavor. This 7 cheap vegetarian meals under 2 dollars option is designed for fast weeknight cooking and dependable results.
February 20, 2026